


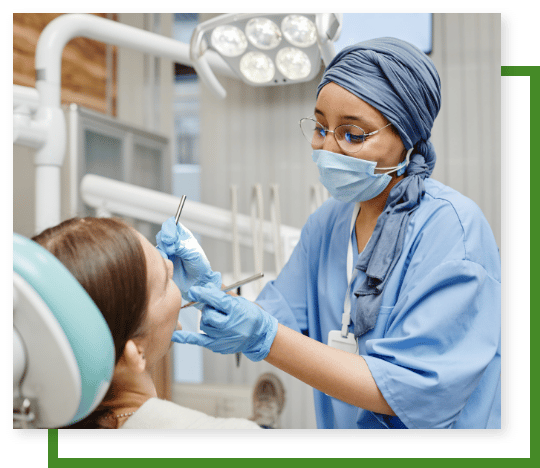
Care following oral surgery
You can expect some pain because the soft tissues have been disturbed and you may notice blood stained saliva for a few hours. Most importantly you should notice continual improvement during this healing stage.

You can expect some pain because the soft tissues have been disturbed and you may notice blood stained saliva for a few hours. Most importantly you should notice continual improvement during this healing stage.

No eating or drinking for four hours after surgery.
Avoid excessive activity and heavy lifting for 24 hours.
Rest in an elevated position.
Don’t disturb around the socket for a week.
Avoid smoking or drinking alcohol as it delays healing.
Some swelling or difficulty in opening your mouth is common, but it should begin to subside after a day or two. If you notice continued bleeding, apply gentle pressure to the wound with a clean gauze pack or wet tea bag for 20 minutes.
If the pain persists or worsens, you suspect an infection or bleeding continues, contact our practice for post-operative care. For emergencies outside our opening hours please attend the emergency department of your nearest general hospital.
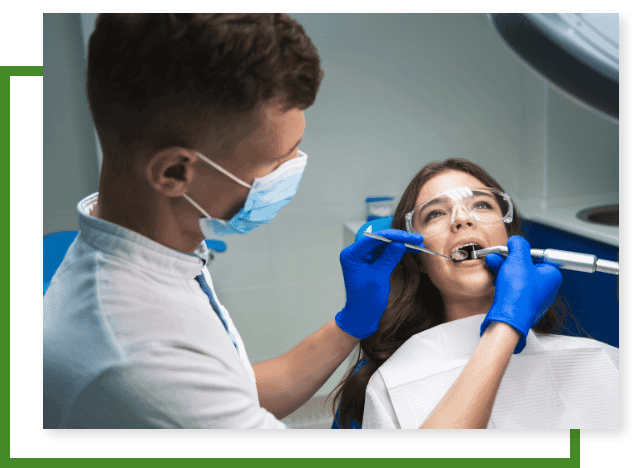
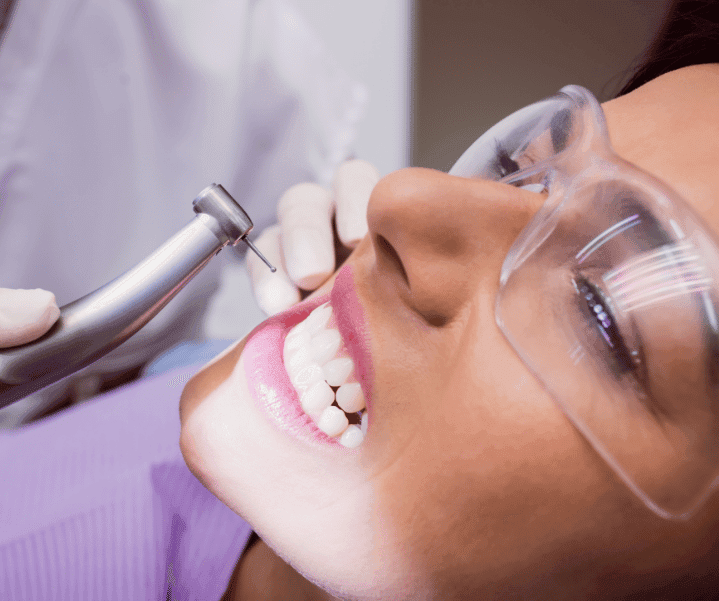
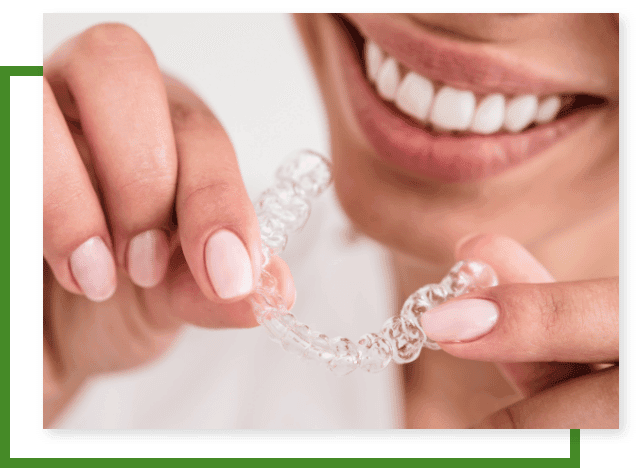
Following root canal treatment your tooth may not be as strong and durable as your other teeth. This is especially true for back teeth and this is why a crown may be recommended. In some cases a root canal treated tooth may become darker in shade. If you are unhappy about the appearance of your tooth talk to your dentist to discuss cosmetic options such as internal bleaching or a crown.
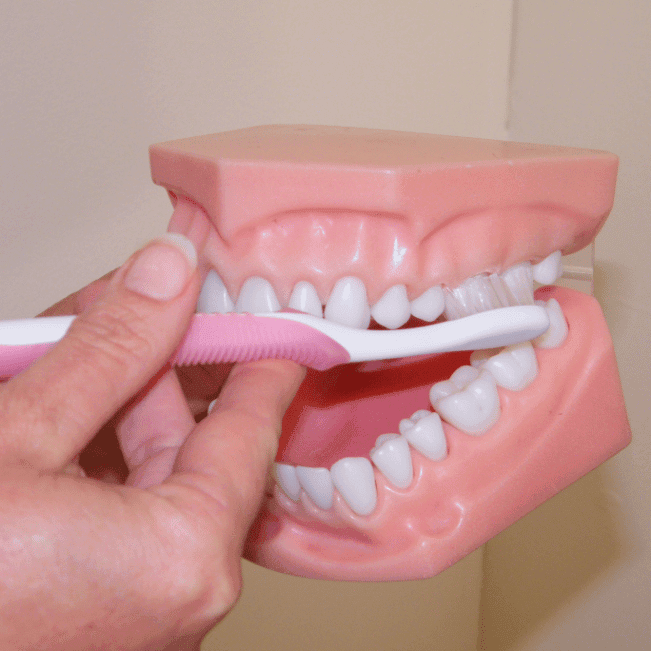
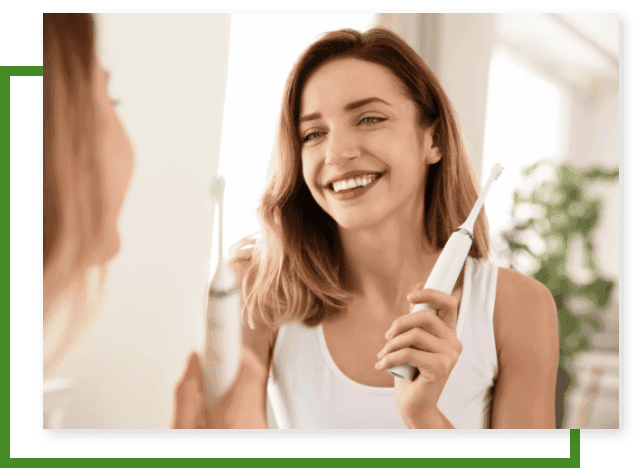
Brush your teeth twice a day using a soft bristled toothbrush and a pea-sized amount toothpaste that contains fluoride
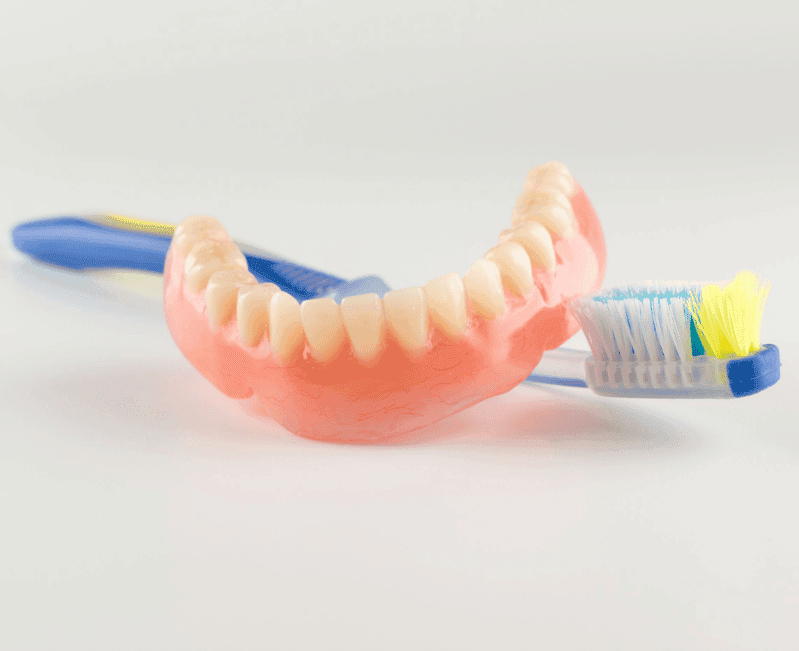
Always brush systematically so you thoroughly clean all surfaces of your teeth (example: you may like to start on the upper right back teeth and work your way clock wise around your mouth).
Hold the brush at a 45° angle towards the gum line and use a gentle circular motion to brush the outside and inside surfaces of each tooth.
Use back and forth strokes on the chewing surfaces.
Use the tip of the brush to brush behind your front teeth, both top and bottom using a flicking motion.
Brush your tongue from back to front to remove odour-producing bacteria.
Finish with a spit, not a rinse.
Replace your brush at the first sign of wear or every three months.
If using an electric toothbrush, you should be guiding the moving brush head slowly from tooth to tooth, holding the brush at each tooth for 3 seconds. The spinning head needs to touch the tooth only, don’t apply pressure.
Develop good oral hygiene practices early on so your child sees this as a normal part of life. Even if your child only has a few teeth, bacteria can get in and start causing decay, so you should start brushing your child’s teeth as soon as the first tooth erupts.
Young children don’t have the manual dexterity to clean their teeth properly. This is why dentists usually recommend you brush and floss your child’s teeth for them until they are around 10 years old. Since every child is different, you will need to decide when your child is ready to begin brushing without any help. A good way to do this is to use plaque disclosing tablets or solutions. The plaque disclosing agents turn the plaque on your child’s teeth a different colour so that it is easy to see and remove. As long as your child is removing all the colour-stained plaque from their teeth, they are able to brush by themselves. Until you get to this point let your child brush by themselves for practice, then follow up with a proper clean afterwards.
Remember to use a soft children’s toothbrush with a grain-sized amount of children’s toothpaste containing fluoride until 18 months of age. At 18 months old you can increase the toothpaste to a pea-sized amount. Flossing should begin as soon as their teeth start to contact each other.
Unfortunately, not all teeth can be restored. Your dentist will not complete a root canal treatment unless the treatment has a high chance of success. For complex cases, your dentist may recommend a root canal specialist referral to ensure you get the best result for your tooth. Root canal treatment may not be appropriate in some cases, and extraction may be the best or only option.
To improve the chances of success, root canal treatment should be started and finished as soon as possible. If the pulp of the tooth is not treated quickly, severe pain and an abscess can occur. If an abscess is left untreated, infection can damage the bone surrounding the root.
Brushing immediately after consuming acidic foods and drinks can damage the enamel layer that covers your teeth. Enamel is softened when exposed to acidic foods and drinks. It is recommended to drink or rinse with water immediately after eating or drinking, and avoid brushing for at least 30 minutes after meals.
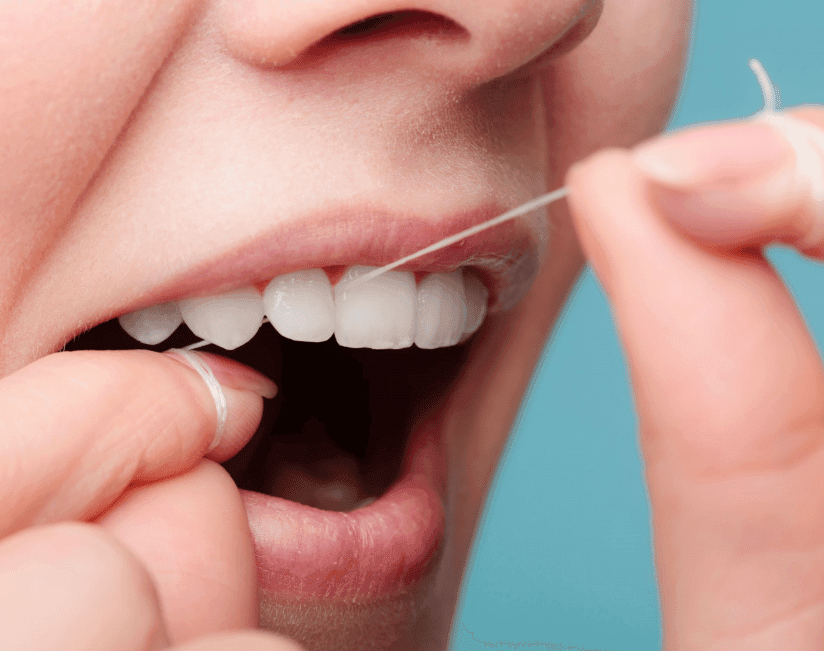
Starting with about 45 cm of floss, wind most of the floss around each middle finger, leaving about 2cm of floss to work with.
Holding the floss tautly between your thumbs and index fingers, insert the floss gently between your teeth using a back and forth motion to avoid traumatising the gums.
Gently curve the floss around the base of each tooth, making sure you go gently beneath the gumline. Move the floss up and down to gently scrap the side surface of each tooth.
To remove the floss, use the same back-and-forth motion to bring the floss up through the contact point of your teeth.
Use clean sections of floss as you move from tooth to tooth.
Remember to clean the back surface on your rear molars.

A parent or carer should start flossing their child’s teeth as soon as they have two teeth in contact. This will continue until the child has the manual dexterity needed to floss correctly themselves which is usually around age 10.
Flossing removes food and plaque between your teeth and is essential as your tooth brush cannot reach these areas. Flossing prevents you from developing tooth decay and reduces the risk of gum disease.
If you’ve got any questions about our dentistry services at Greenland Dental or want to discuss any of
our treatments or payment options, please call us on (07) 5495 4266. and we’ll be happy to help.